Easy Yogurt Muffins for a Fresh Morning Start
Spring mornings call for something light and bright. You want a breakfast that tastes like a bakery treat. These Easy Yogurt Muffins are exactly what you need. The kitchen will smell like warm vanilla and sweet sugar. It is a lovely way to wake up your senses. You deserve a morning that feels calm and nourishing.
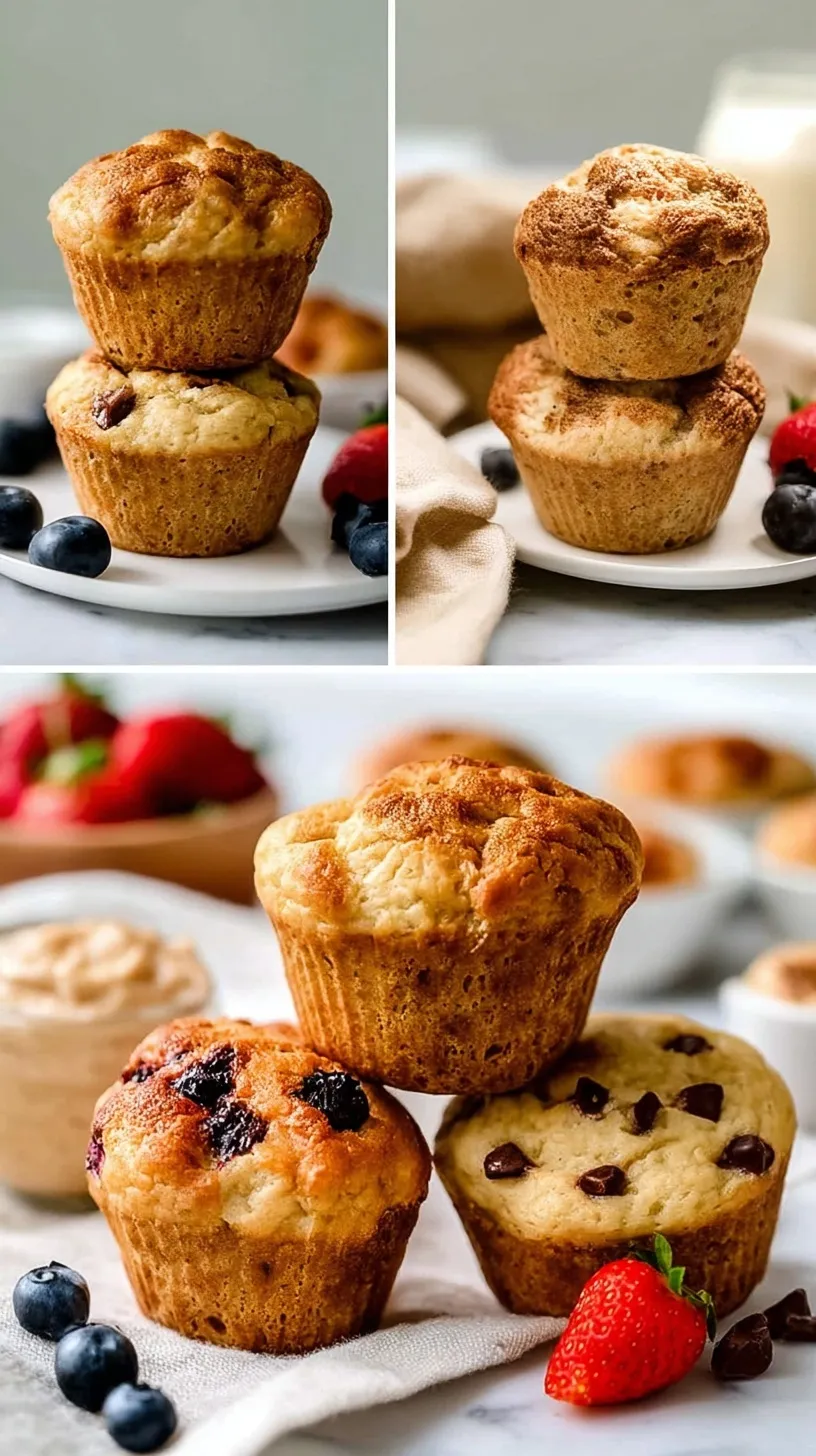
They are soft, moist, and ready in no time. You can whip these up before the house wakes up. It is the perfect way to start your day. No fancy ingredients are required for this simple recipe. Just grab your favorite yogurt and get started. You will love how easy your morning becomes with these treats.
Why This Recipe Is a Winner
These muffins are perfect for a healthy reset this spring. They stay moist for days thanks to the Greek yogurt. You only need two bowls and a whisk. It is a great way to get the kids involved. You will love having these ready for busy mornings. They are budget-friendly and use simple pantry staples. The yogurt adds a lovely tang to the flavor. It balances the sweetness of the granulated sugar perfectly. This recipe creates a texture that is light and airy. Every bite feels like a little bit of luxury. You can feel good about serving these to your family.
What Makes This Recipe Special
The secret to these muffins is the Greek yogurt. It provides acidity that reacts with the baking soda. This creates a tender and soft crumb every time. You won’t find any dry or crumbly muffins here. They have a balanced flavor that is not too sweet. This makes them great for kids and adults alike. You can truly taste the quality of the ingredients. It is a clean and modern take on a classic. You will find yourself making these every single week. It is a recipe you can trust completely. The texture is consistent and reliable for any baker. It is the perfect project for a rainy spring afternoon.
Simple Method
This recipe is very beginner-friendly and fast. You simply mix the dry and wet ingredients separately. This ensures the leavening agents are distributed evenly. Then, you gently fold them together until just combined. Using a spatula helps you avoid overmixing the batter. There is no need for a heavy stand mixer today. You can have these baking in the oven quickly. Making a well in the flour is a great trick. It allows the wet ingredients to incorporate smoothly. Even if you rarely bake, you will find success here.
Ingredients You’ll Need
These muffins use simple items you likely have now. Fresh yogurt makes all the difference here. Simple ingredients lead to the best results.
- 250 grams all-purpose flour
- 150 grams granulated sugar
- 2 teaspoons baking powder
- 1/2 teaspoon baking soda
- 1/4 teaspoon salt
- 240 grams plain Greek yogurt
- 2 large eggs
- 120 milliliters vegetable oil
- 1 teaspoon vanilla extract
Step-by-Step Directions
- Preheat oven to 375 degrees Fahrenheit (190 degrees Celsius) and line a 12-cup muffin tin with paper liners.
- In a large bowl, whisk together the flour, sugar, baking powder, baking soda, and salt until well combined.
- In a separate medium bowl, whisk the yogurt, eggs, vegetable oil, and vanilla extract until the mixture is homogenous.
- Make a well in the center of the dry ingredients and pour in the wet ingredients.
- Fold the mixtures together using a spatula until just combined, ensuring no large pockets of dry flour remain while avoiding over-agitation of the gluten.
- Distribute the batter evenly among the 12 prepared muffin cups, filling each approximately three-quarters full.
- Bake for 18 to 22 minutes, or until the tops are golden brown and a toothpick inserted into the center comes out clean.
- Remove from the oven and allow the muffins to rest in the tin for 5 minutes before transferring to a wire rack for final cooling.
Best Ways to Enjoy It
Serve these warm with a bit of salted butter. The butter melts into the soft, golden crumb beautifully. They are delicious with a cup of herbal tea. Pack them in a lunchbox for a kid-approved snack. You can even slice them and add nut butter. Enjoy them on a slow spring weekend morning. They look beautiful on a brunch platter with fruit. Your friends will love the simple, clean flavors. The vanilla scent is very inviting for guests. It is a wonderful treat for a garden party.
Keep It Fresh
Store these in an airtight container at room temperature. They will stay fresh for up to two days. For longer storage, keep them in the fridge. They freeze beautifully for up to three months. This makes meal prep so much easier for you. Use a freezer-safe bag to prevent freezer burn. Label the bag with the date so you know. Reheat them in the microwave for ten seconds. This brings back that fresh, oven-warm feel. You can also toast them lightly in a pan. Having them ready in the freezer is a total lifesaver.
Tips for Best Results
- Whisk the flour well to avoid any large lumps.
- Use full-fat Greek yogurt for the best creamy texture.
- Do not overmix the batter once you add flour.
- Fill the muffin cups about three-quarters full for height.
- Check for doneness with a simple wooden toothpick.
- Let them cool in the tin for five minutes.
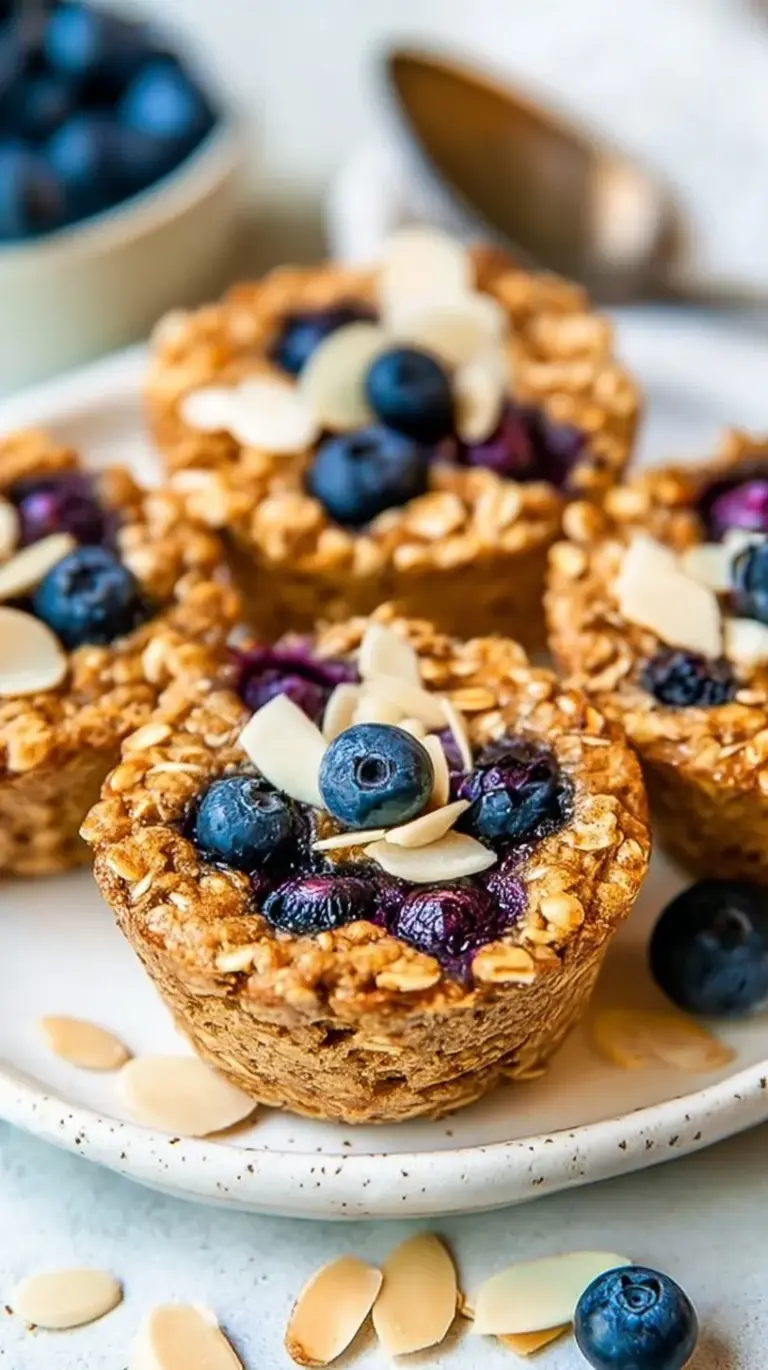
- Add a handful of fresh spring berries if desired.
- Ensure your eggs are at room temperature before starting.
- Use paper liners to prevent the muffins from sticking.
- Measure your flour using the spoon and level method.
- Preheat your oven fully before you start mixing.
- Store them in a single layer to keep them pretty.
Ways to Switch It Up
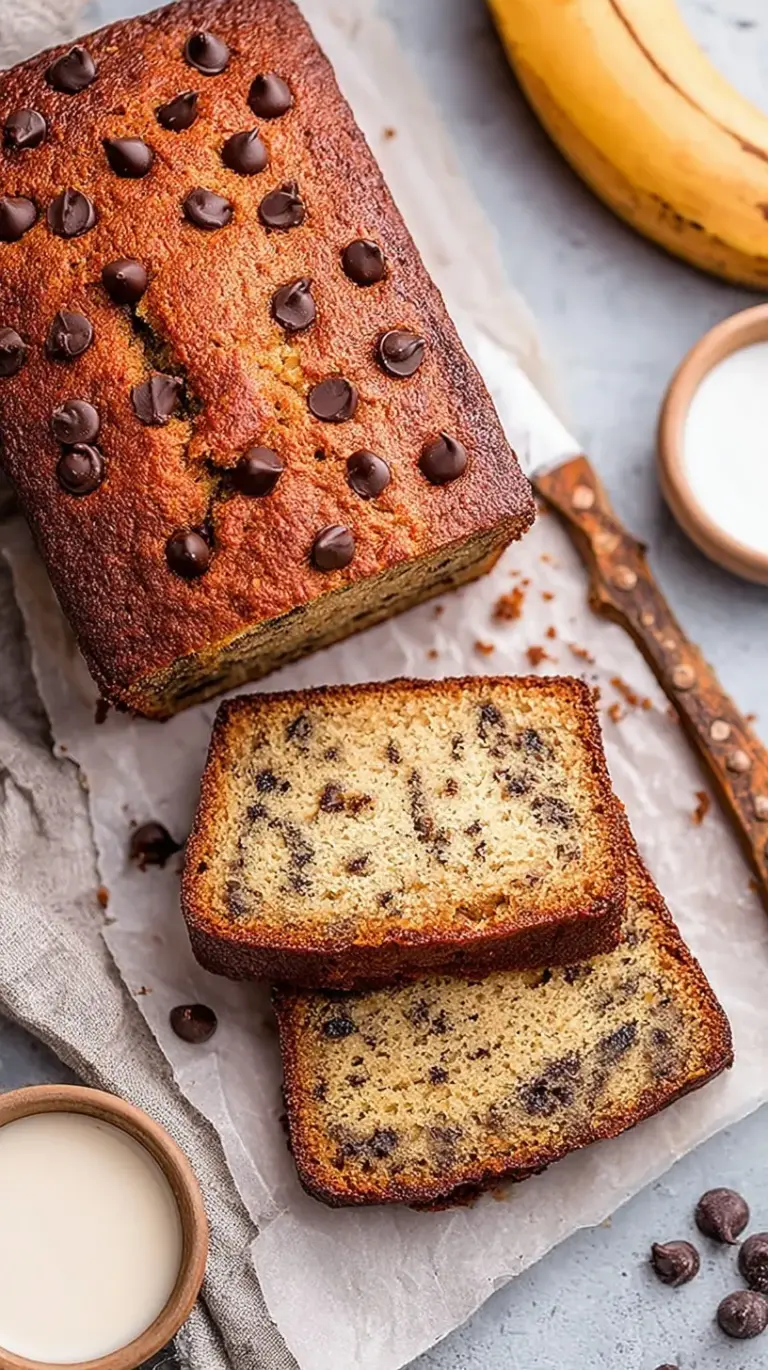
- Stir in a half cup of dark chocolate chips.
- Add a teaspoon of fresh lemon zest for brightness.
- Swap the granulated sugar for honey for milder sweetness.
- Use a gluten-free flour blend for a dietary swap.
- Sprinkle a little cinnamon on top before baking.
Common Questions
Can I use regular yogurt?
Yes, but the batter might be a bit thinner. Greek yogurt provides a much thicker and creamier texture. If using regular, you might reduce the oil slightly. The flavor will still be wonderful and tangy.
How do I know they are done?
The tops should be a light golden brown color. A toothpick should come out clean from the center. They should feel springy to the touch when pressed. Do not overbake them or they might dry out.
Can I make these ahead of time?
Absolutely, these are perfect for meal prep Sundays. You can bake them and store them for the week. They stay moist and delicious for several days. Just reheat them quickly for a fresh taste.
I hope these muffins make your spring mornings brighter. They are a simple way to show yourself some love. Happy baking and enjoy every tender bite.
— Clara
Ingredients
Method
- Preheat oven to 375 degrees Fahrenheit (190 degrees Celsius) and line a 12-cup muffin tin with paper liners.
- In a large bowl, whisk together the flour, sugar, baking powder, baking soda, and salt until well combined.
- In a separate medium bowl, whisk the yogurt, eggs, vegetable oil, and vanilla extract until the mixture is homogenous.
- Make a well in the center of the dry ingredients and pour in the wet ingredients.
- Fold the mixtures together using a spatula until just combined, ensuring no large pockets of dry flour remain while avoiding over-agitation of the gluten.
- Distribute the batter evenly among the 12 prepared muffin cups, filling each approximately three-quarters full.
- Bake for 18 to 22 minutes, or until the tops are golden brown and a toothpick inserted into the center comes out clean.
- Remove from the oven and allow the muffins to rest in the tin for 5 minutes before transferring to a wire rack for final cooling.