Easy Thai Basil Beef Rolls: A 30-Minute Dinner for Two
Looking for a dish that wows your guests without stressing you out? These Thai Basil Beef Rolls are the perfect answer for your next gathering.
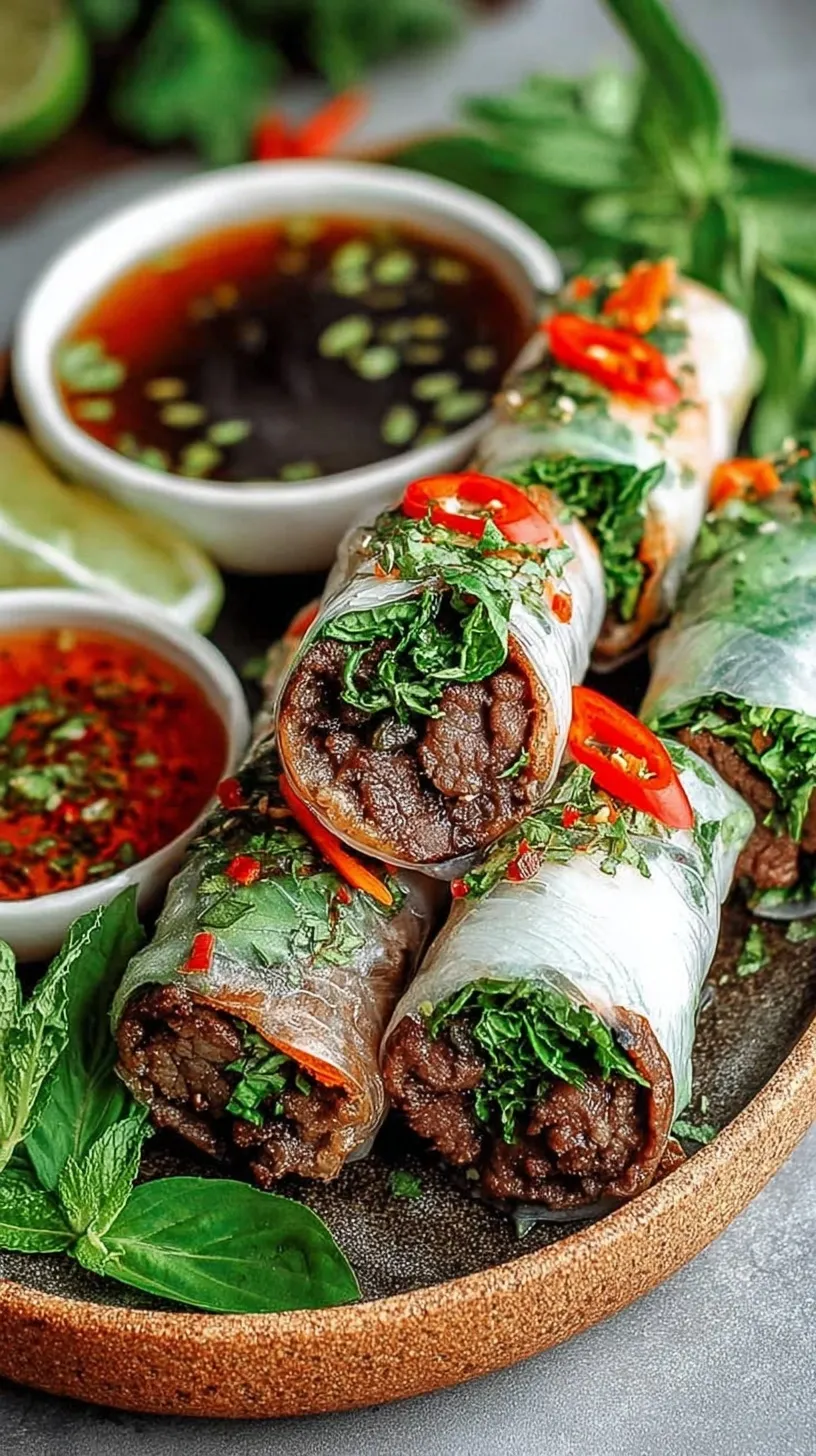
It is a warm evening. You want something fresh and bold. This recipe delivers big flavor in a tiny package. It is ready in just 30 minutes from start to finish.
Why This Recipe Is a Winner
This dish is perfect for a special date night at home. It looks like it came from a high-end bistro. However, it uses simple ingredients you can find at any market.
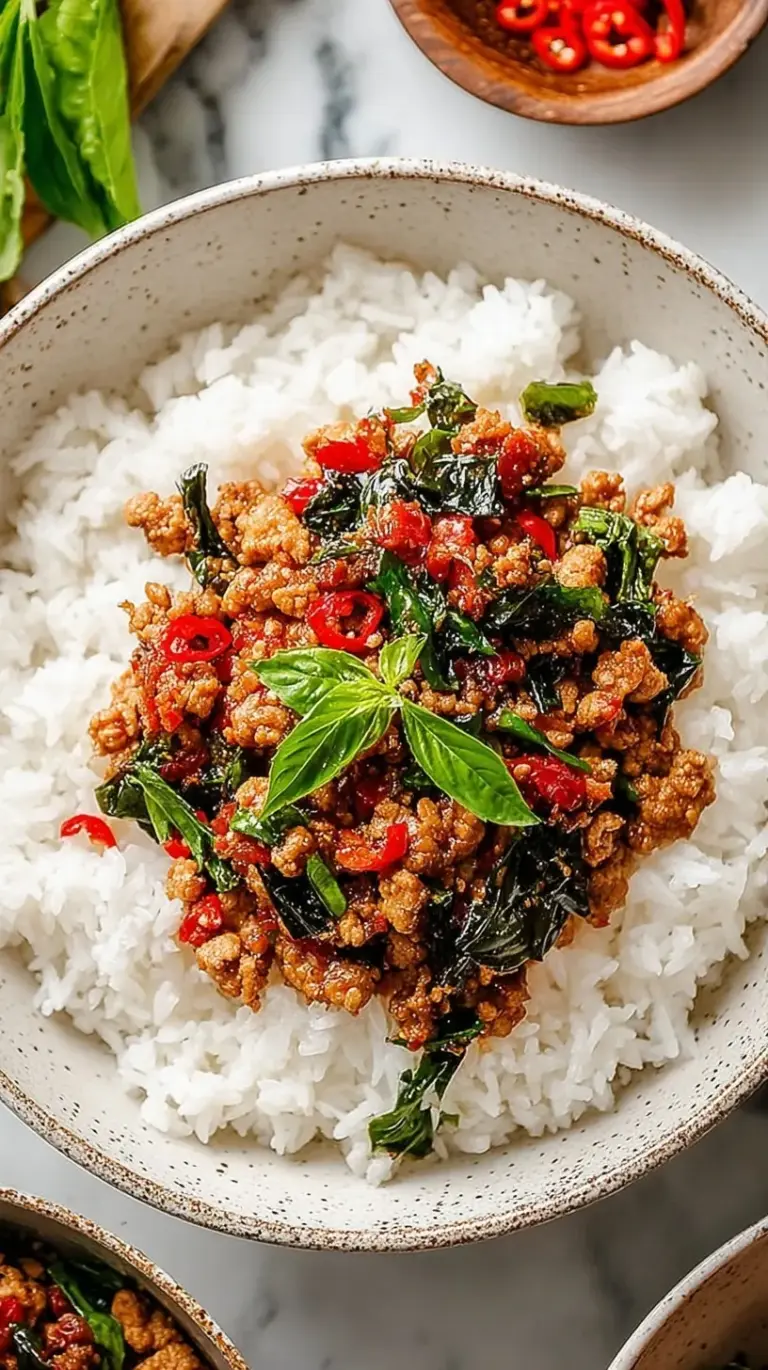
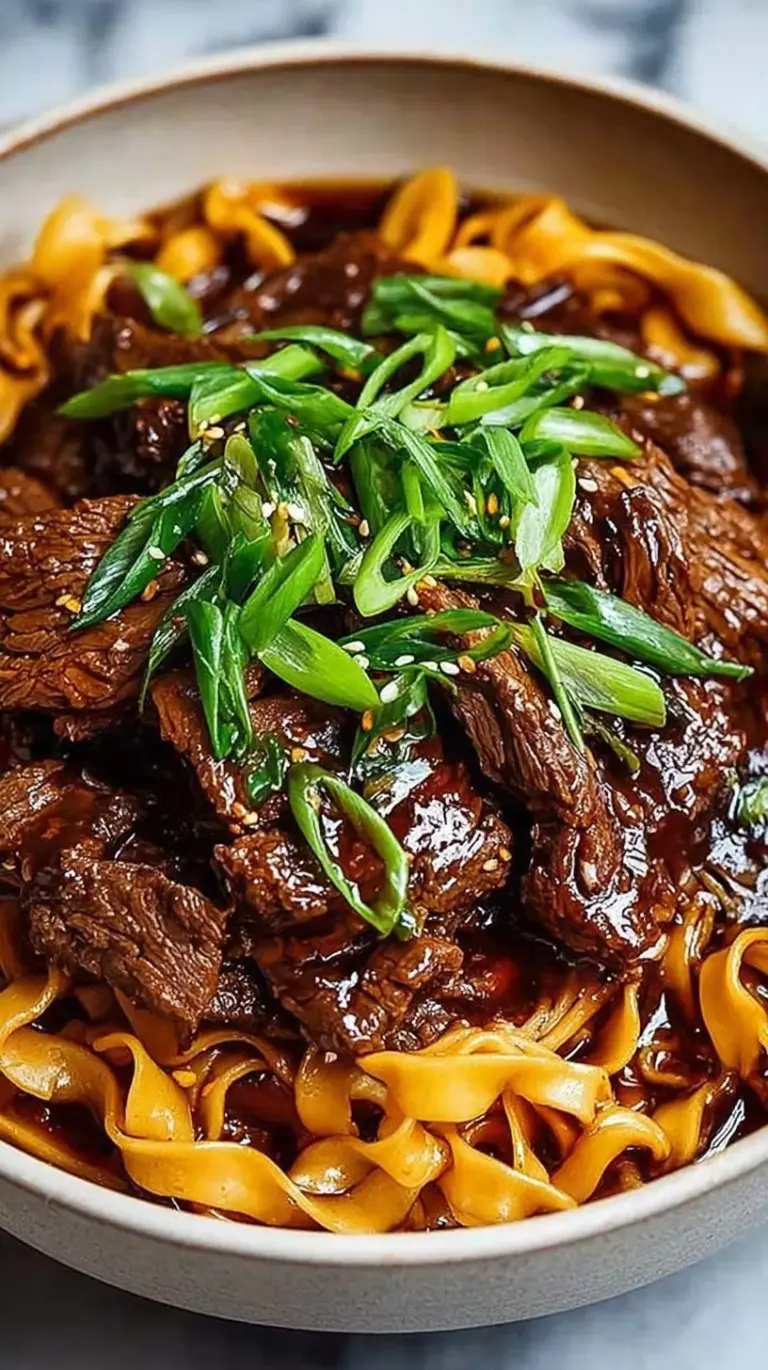
The combination of savory beef and aromatic basil is truly magical. It is naturally high in protein and feels light yet satisfying. You will love how the spicy glaze brings everything together perfectly.
Simple Method
Making these rolls is much easier than it looks. You simply slice, wrap, and sear. The quick cooking time keeps the vegetables crisp and the beef tender.
Even if you have never rolled meat before, you can do this. The toothpicks do all the hard work for you. You will feel like a pro in no time.
Ingredients You’ll Need
This recipe uses fresh seasonal produce and pantry staples to create deep, complex flavors.
- 1 lb flank steak, sliced into 1/8-inch thin strips against the grain
- 2 cups fresh Thai basil leaves
- 1 red bell pepper, julienned
- 4 scallions, cut into 3-inch lengths
- 2 tablespoons soy sauce
- 1 tablespoon oyster sauce
- 1 teaspoon fish sauce
- 1 tablespoon brown sugar
- 1 tablespoon vegetable oil
- 1 teaspoon bird’s eye chili, minced
- 2 cloves garlic, minced
Step-by-Step
- In a small bowl, whisk together soy sauce, oyster sauce, fish sauce, brown sugar, minced chili, and garlic to create the marinade glaze.
- Lay steak strips flat and brush both sides lightly with a portion of the sauce mixture.
- Place a bundle containing 3-4 Thai basil leaves, 2 strips of julienned pepper, and 2 scallion segments at one end of each steak strip.
- Roll the beef tightly around the vegetable filling and secure the seam with a wooden toothpick.
- Heat vegetable oil in a large skillet or wok over medium-high heat until shimmering.
- Place rolls seam-side down in the skillet and sear for 2-3 minutes per side until the beef is browned and cooked through.
- Pour the remaining sauce into the skillet and toss the rolls for 1 minute until the glaze has thickened and coated the beef.
- Remove toothpicks before serving immediately.
Best Ways to Enjoy It
Serve these rolls warm on a beautiful white platter. They look stunning next to a bowl of fluffy jasmine rice. You can also serve them as a standalone appetizer.
Set the table and light a candle for a romantic dinner. Pair them with a crisp, cold ginger beer. The bubbles cut through the savory glaze beautifully.
Storage & Reheating
These are best enjoyed immediately after cooking. If you have leftovers, store them in an airtight container. They will stay fresh in the fridge for up to two days.
Reheat them gently in a skillet over medium heat. Avoid the microwave to keep the beef from getting tough. You can also eat them cold for a quick snack.
Tips for Best Results
- Slice the beef while it is slightly frozen for perfect thin strips.
- Always sear the rolls seam-side down first to seal them shut.
- Do not overcrowd the pan or the beef will steam instead of sear.
- Use a very sharp knife to julienne your peppers thinly.
- Swap Thai basil for Italian basil if you cannot find it.
- Add an extra chili if you love a spicy kick.
- Double the batch for a larger summer dinner party.
Ways to Switch It Up
- Use tamari instead of soy sauce for a gluten-free version.
- Swap the red pepper for asparagus spears in the springtime.
- Try thinly sliced chicken breast for a leaner protein option.
- Use honey instead of brown sugar for a floral sweetness.
Common Questions
Can I make these ahead of time?
You can roll the beef and veggies a few hours early. Keep them covered in the fridge until you are ready to sear. This makes hosting much easier for you.
What if I don’t have a wok?
A large cast-iron skillet works just as well. The goal is high, even heat for a good sear. Just ensure the pan is very hot before adding the oil.
Is fish sauce necessary?
It adds a deep, savory umami flavor that is traditional. If you really dislike it, use extra soy sauce. However, the flavor is much better with it included.
I hope these vibrant beef rolls bring a little spark to your dinner table. They are so fun to make and even better to eat. Enjoy every savory bite!
— Clara
Ingredients
Method
- In a small bowl, whisk together soy sauce, oyster sauce, fish sauce, brown sugar, minced chili, and garlic to create the marinade glaze.
- Lay steak strips flat and brush both sides lightly with a portion of the sauce mixture.
- Place a bundle containing 3-4 Thai basil leaves, 2 strips of julienned pepper, and 2 scallion segments at one end of each steak strip.
- Roll the beef tightly around the vegetable filling and secure the seam with a wooden toothpick.
- Heat vegetable oil in a large skillet or wok over medium-high heat until shimmering.
- Place rolls seam-side down in the skillet and sear for 2-3 minutes per side until the beef is browned and cooked through.
- Pour the remaining sauce into the skillet and toss the rolls for 1 minute until the glaze has thickened and coated the beef.
- Remove toothpicks before serving immediately.