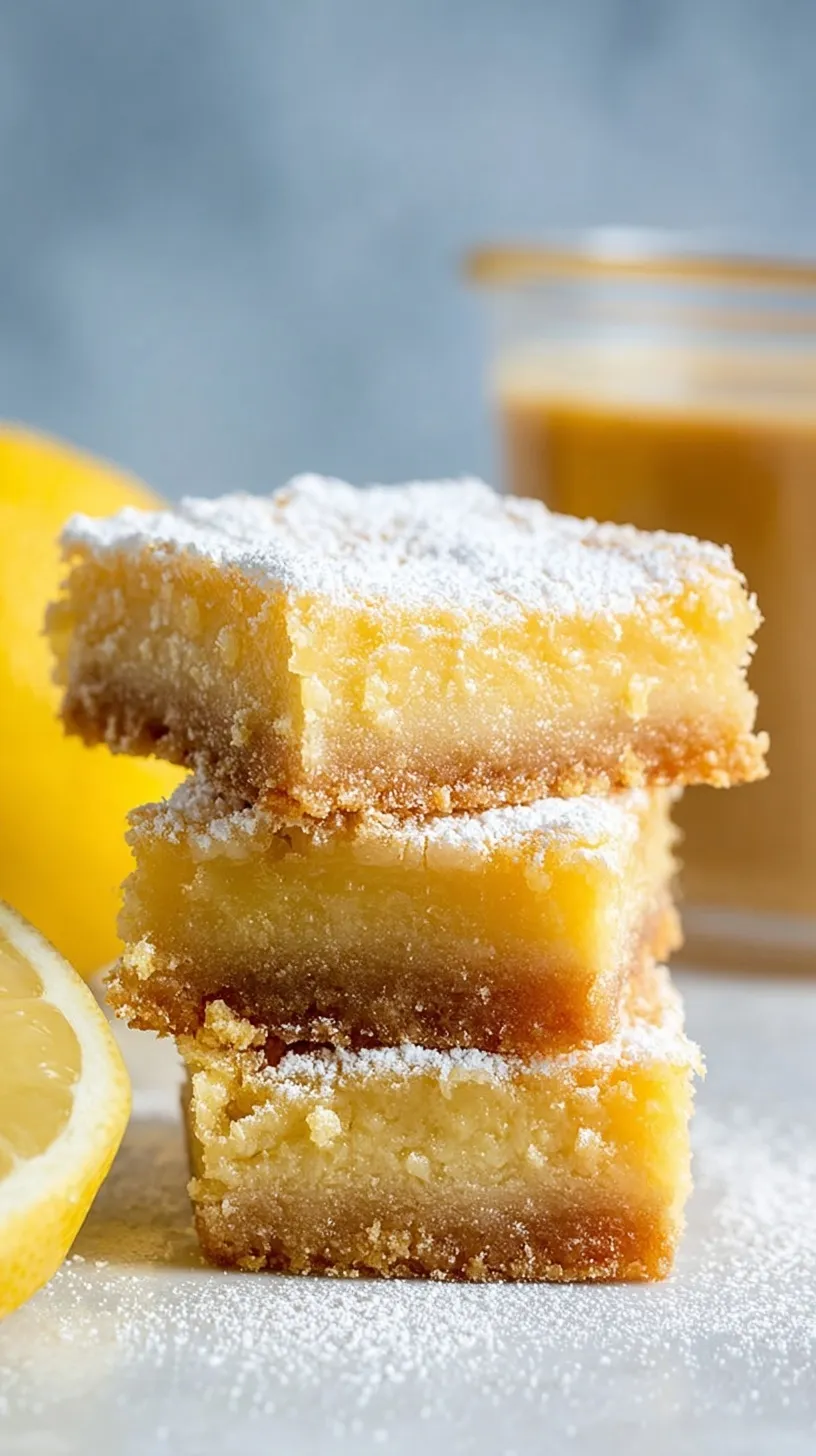
Zesty Healthy Lemon Bars with Almond Flour Crust
Spring is finally here. You can feel the sun on your skin again. These Healthy Lemon Bars are the perfect way to celebrate the season.
They are bright, zesty, and light. You get all the flavor without the sugar crash. This recipe is a total win for your next gathering.
Why This Recipe Is a Winner
Most lemon bars are packed with white sugar. This version uses honey and maple syrup instead. It feels nutritious and satisfying without being overly sweet.
The almond flour crust is buttery and crisp. It is naturally gluten-free and grain-free. You will love how easy it is to prep for a healthy reset.
Simple Method
Making these bars is very straightforward. You mix the crust and bake it first. Then you whisk the filling and pour it over. Anyone can master this simple two-step process at home.
Ingredients You’ll Need
These bars use simple, whole-food ingredients. You likely have most of these in your pantry right now. Using fresh lemons makes all the difference in the final taste.
- 2 cups almond flour
- 1/4 cup melted coconut oil
- 3 tablespoons maple syrup
- 1/4 teaspoon sea salt
- 3 large eggs
- 1/2 cup fresh lemon juice
- 1 tablespoon lemon zest
- 1/3 cup honey
- 2 tablespoons coconut flour
Step-by-Step
- Preheat oven to 350°F (175°C) and line an 8×8 inch baking pan with parchment paper.
- In a medium bowl, combine almond flour, melted coconut oil, maple syrup, and sea salt until a dough forms.
- Press the dough firmly into the bottom of the prepared pan.
- Bake the crust for 12-15 minutes or until the edges are lightly golden brown.
- While the crust bakes, whisk together eggs, lemon juice, lemon zest, honey, and coconut flour in a bowl until smooth.
- Remove the crust from the oven and pour the lemon filling over the warm crust.
- Return to the oven and bake for an additional 18-20 minutes until the center is set.
- Allow the bars to cool completely at room temperature, then refrigerate for at least 2 hours before slicing into squares.
Best Ways to Enjoy It
Serve these chilled on a sunny afternoon. They look beautiful on a brunch platter. Pair them with a fresh cup of herbal tea for a treat. They are great for a light weekend dessert.
Keep It Fresh
Store these bars in the fridge. They stay fresh for up to five days. You can also freeze them for a month. Slice them before freezing for a quick grab-and-go snack.
Tips for Best Results
- Do not skip the parchment paper for easy removal.
- Whisk the filling well to avoid any flour clumps.
- Use organic lemons to get the best zest quality.
- Let the bars cool completely before you try to slice.
- For a spring brunch, garnish with fresh mint leaves.
- Press the crust firmly to prevent it from crumbling later.
Ways to Switch It Up
- Swap lemon for lime for a tropical twist.
- Add a pinch of ginger to the crust for warmth.
- Use agave instead of honey for a milder flavor.
Common Questions
Can I use bottled lemon juice?
Fresh is always best for flavor. Bottled juice often lacks that bright zing. Use fresh lemons for the most vibrant taste possible.
How do I know when they are done?
The edges should be firm. The center should have a slight jiggle. It will firm up completely as it cools in the fridge.
I hope these bars bring a little sunshine to your kitchen. They are truly my favorite light treat. Enjoy every zesty bite!
— Clara
Ingredients
Method
- Preheat oven to 350°F (175°C) and line an 8x8 inch baking pan with parchment paper.
- In a medium bowl, combine almond flour, melted coconut oil, maple syrup, and sea salt until a dough forms.
- Press the dough firmly into the bottom of the prepared pan.
- Bake the crust for 12-15 minutes or until the edges are lightly golden brown.
- While the crust bakes, whisk together eggs, lemon juice, lemon zest, honey, and coconut flour in a bowl until smooth.
- Remove the crust from the oven and pour the lemon filling over the warm crust.
- Return to the oven and bake for an additional 18-20 minutes until the center is set.
- Allow the bars to cool completely at room temperature, then refrigerate for at least 2 hours before slicing into squares.