Healthy Homemade Peanut Butter Dog Treats Your Pup Will Love
It is the weekend and you want to treat your best friend to something special. Store-bought snacks often have hidden additives and strange fillers you cannot pronounce. These peanut butter dog treats are the perfect solution for your pup.
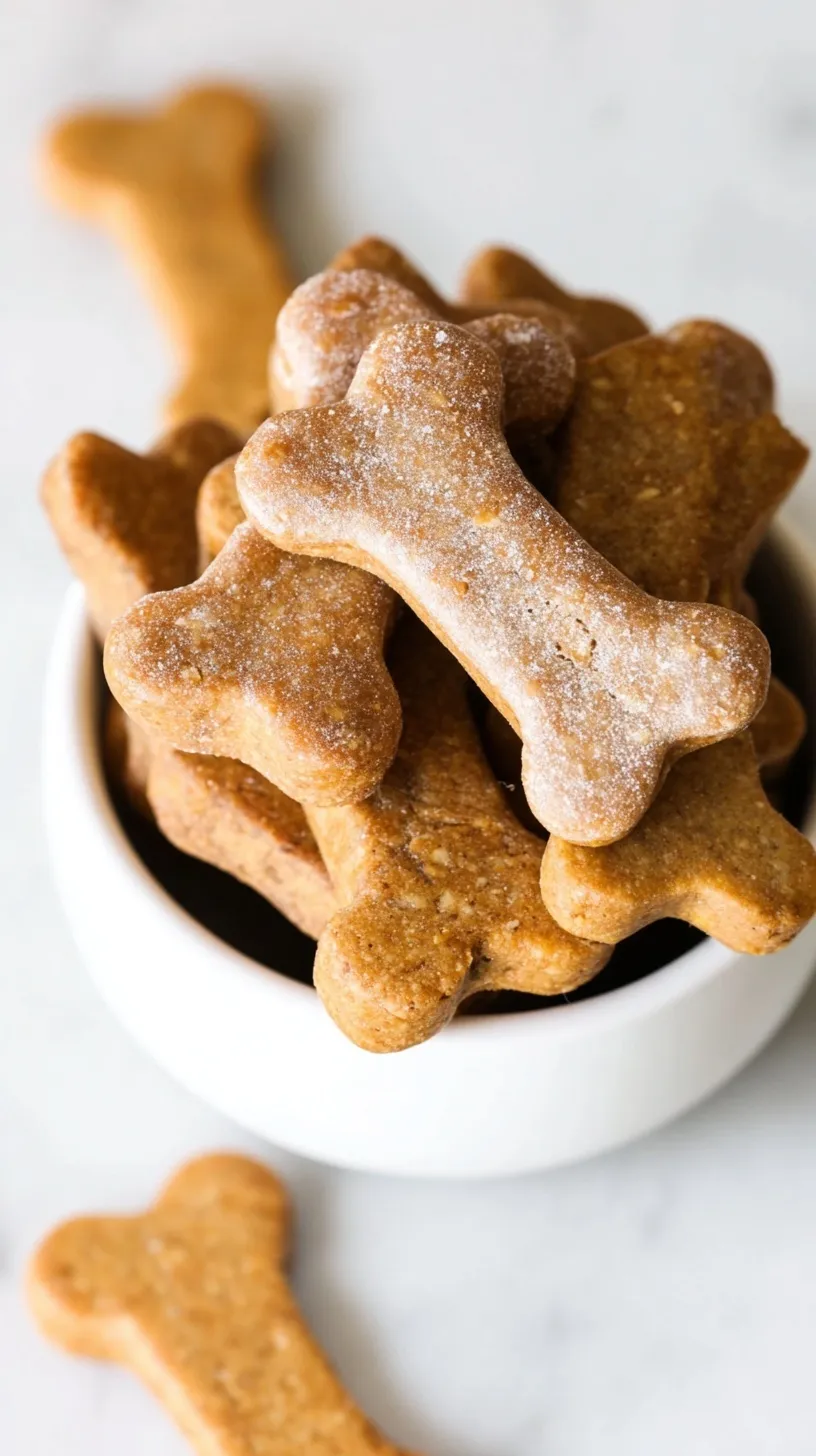
They are crisp, crunchy, and filled with wholesome ingredients you already have. Your kitchen will smell like warm nut butter and toasted grain. It is a simple way to show love to your furry companion today.
Why This Recipe Is a Winner
Making your own pet snacks is incredibly budget-friendly and rewarding. You control exactly what goes into your dog’s tummy with every bite. This recipe uses only four basic pantry staples you likely own already.
It is a fantastic activity for a slow afternoon at home. These treats are kid-approved and fun for little hands to help shape. You will save money while giving your pet a high-quality, nutritious snack.
Simple Cooking Steps
You do not need to be an expert baker to master this recipe. The dough comes together in one single bowl for minimal cleanup. Even if you have never baked for a pet, you can do this. The texture is forgiving and very easy to roll out flat.
Simple Ingredients
These treats rely on wholesome whole grains and protein-rich eggs for a healthy crunch.
- 2 cups whole wheat flour
- 1/2 cup creamy peanut butter (must be xylitol-free)
- 2 large eggs
- 1/4 cup water
Step-by-Step Directions
- Preheat the oven to 350 degrees Fahrenheit (175 degrees Celsius) and line a baking sheet with parchment paper.
- In a large mixing bowl, combine the eggs and creamy peanut butter, whisking until the mixture is uniform and smooth.
- Add the whole wheat flour and water to the peanut butter mixture.
- Stir until a stiff, cohesive dough forms; if the dough is too crumbly, add water one tablespoon at a time.
- On a lightly floured surface, roll the dough out to a thickness of approximately 1/2 inch.
- Use a bone-shaped cookie cutter or a knife to cut the dough into individual treats.
- Arrange the treats on the prepared baking sheet with at least 1/2 inch of space between each piece.
- Bake for 18 to 20 minutes, or until the treats are firm to the touch and slightly browned on the bottom.
- Transfer the treats to a wire cooling rack and allow them to cool completely to ensure a crunchy texture before serving.
Best Ways to Enjoy It
Serve these treats as a reward after a long walk in the park. They are the perfect size for daily training sessions or special rewards. You can even place them in a pretty jar on your counter. Your dog will surely sit and stay when they see the jar open.
How to Store Leftovers
Keep these snacks in an airtight container at room temperature for one week. For longer storage, you can keep them in the refrigerator for three weeks. They also freeze beautifully if you want to make a double batch. Simply thaw a few at a time for a quick, cold snack.
Recipe Tips
- Always check that your peanut butter contains zero xylitol as it is toxic.
- Roll the dough evenly to ensure every treat bakes at the same rate.
- Use a fork to poke holes in the center for a classic biscuit look.
- Dust your rolling pin with flour to prevent the dough from sticking.
- Bake them longer if your dog prefers a very hard, extra-crunchy texture.
- Let them cool completely on a rack to achieve the perfect snap.
Ways to Switch It Up
- Add a tablespoon of mashed banana for a touch of natural sweetness.
- Swap half the flour for oat flour for a different grain profile.
- Mix in a teaspoon of dried parsley to help freshen doggy breath.
- Use a small round cutter to make bite-sized training treats for puppies.
Common Questions
Can I use all-purpose flour instead?
Yes, you can use all-purpose flour if that is what you have. Whole wheat provides more fiber, but both are safe for most dogs. Avoid using grain-free flours unless you adjust the liquid ratios significantly.
How do I know when the treats are done?
The treats should feel firm and dry to the touch. They will not spread much in the oven like human cookies. Look for a light golden brown color on the bottom edges.
I hope your four-legged friend enjoys these crunchy peanut butter dog treats as much as mine do. There is nothing quite like the joy of a happy, wagging tail. Happy baking to you and your pup!
— Clara
Ingredients
Method
- Preheat the oven to 350 degrees Fahrenheit (175 degrees Celsius) and line a baking sheet with parchment paper.
- In a large mixing bowl, combine the eggs and creamy peanut butter, whisking until the mixture is uniform and smooth.
- Add the whole wheat flour and water to the peanut butter mixture.
- Stir until a stiff, cohesive dough forms; if the dough is too crumbly, add water one tablespoon at a time.
- On a lightly floured surface, roll the dough out to a thickness of approximately 1/2 inch.
- Use a bone-shaped cookie cutter or a knife to cut the dough into individual treats.
- Arrange the treats on the prepared baking sheet with at least 1/2 inch of space between each piece.
- Bake for 18 to 20 minutes, or until the treats are firm to the touch and slightly browned on the bottom.
- Transfer the treats to a wire cooling rack and allow them to cool completely to ensure a crunchy texture before serving.