How to Make a Simple Chia Egg Substitute for Better Baking
You are ready to bake. You reach for the eggs. The carton is empty.
This chia egg substitute is your new best friend for a healthy reset. It is simple and completely plant-based. You can keep these staples in your pantry all year long.
Why This Recipe Is a Winner
This recipe is a true lifesaver for busy home cooks. It uses only two ingredients you likely already have. It is budget-friendly and nutritious for your family.
You will love how it fits into your meal prep routine. It works beautifully in muffins, pancakes, and quick breads. This is the ultimate baking hack for a clean kitchen.
Simple Method
Making this binder is incredibly easy for any beginner. You just mix, whisk, and wait a few minutes. The seeds do all the hard work for you. No fancy equipment is required for this process.
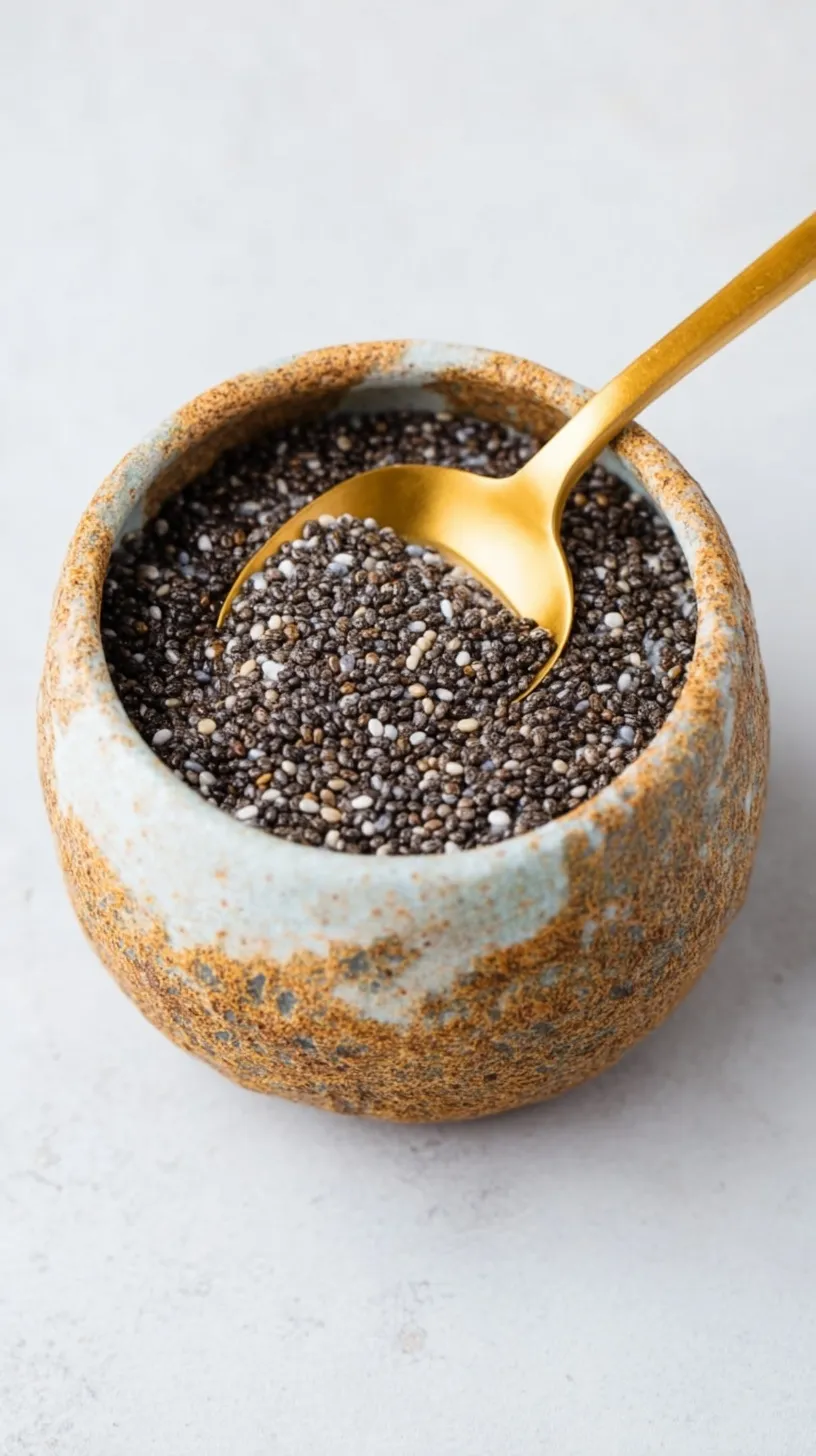
Simple Ingredients
These pantry staples are always ready when you are.
- 1 tablespoon ground chia seeds
- 3 tablespoons water (filtered, room temperature)
Step-by-Step Directions
- Process whole seeds in a grinder if you do not have meal.
- Measure 1 tablespoon of ground chia meal into a small bowl.
- Add 3 tablespoons of room temperature water to the seeds.
- Whisk vigorously with a fork for at least 30 seconds.
- Let the mixture sit undisturbed for 10 to 15 minutes.
- Whisk briefly once a thick gel has fully formed.
Best Ways to Enjoy It
Use this gel to replace one large chicken egg. It adds a lovely nutritious boost to your morning muffins. Try it in your favorite banana bread recipe today. Pair your baked goods with a warm cup of herbal tea.
Storage & Reheating
This substitute is best used immediately after it gels. You can store it in the fridge for 24 hours. Keep it in a small airtight container for freshness. Do not try to freeze this specific mixture. Whisk it again if it sits for too long.
Tips for Best Results
- Do not skip grinding the seeds for the best texture.
- Avoid using hot water as it changes the gel consistency.
- Whisk thoroughly to prevent any dry clumps from forming.
- Use ground meal for a smoother finished baked good.
- Double the batch for larger recipes like holiday cakes.
- Wait the full 15 minutes for the thickest result.
- Check that your chia seeds are fresh for best binding.
Ways to Switch It Up
- Swap chia for ground flaxseeds for a nuttier flavor.
- Use white chia seeds to keep light cakes bright.
- Try using fruit juice instead of water for extra sweetness.
Common Questions
Can I use whole chia seeds?
You can use whole seeds if you prefer. However, ground seeds create a much better binding texture. Whole seeds might feel crunchy in soft cakes.
Will this work for an omelet?
No, this is strictly for baking recipes. It acts as a binder rather than a standalone dish. Use it in cookies or brownies instead.
I hope this simple staple makes your plant-forward baking even easier. It is such a joy to find fresh ways to enjoy your kitchen. Happy baking!
— Clara
Ingredients
Method
- Process whole chia seeds in a spice grinder or high-speed blender for 10-15 seconds to create a fine meal if pre-ground seeds are unavailable.
- Measure 1 tablespoon of ground chia meal into a small glass bowl or ramekin.
- Add 3 tablespoons of room temperature water to the bowl.
- Whisk vigorously with a fork or small whisk for 30 seconds to ensure even hydration and prevent clumping.
- Allow the mixture to sit undisturbed at room temperature for 10 to 15 minutes until a thick, viscous gel forms.
- Verify consistency (should be similar to a raw egg) and whisk briefly before adding to the wet ingredients of a baking recipe.