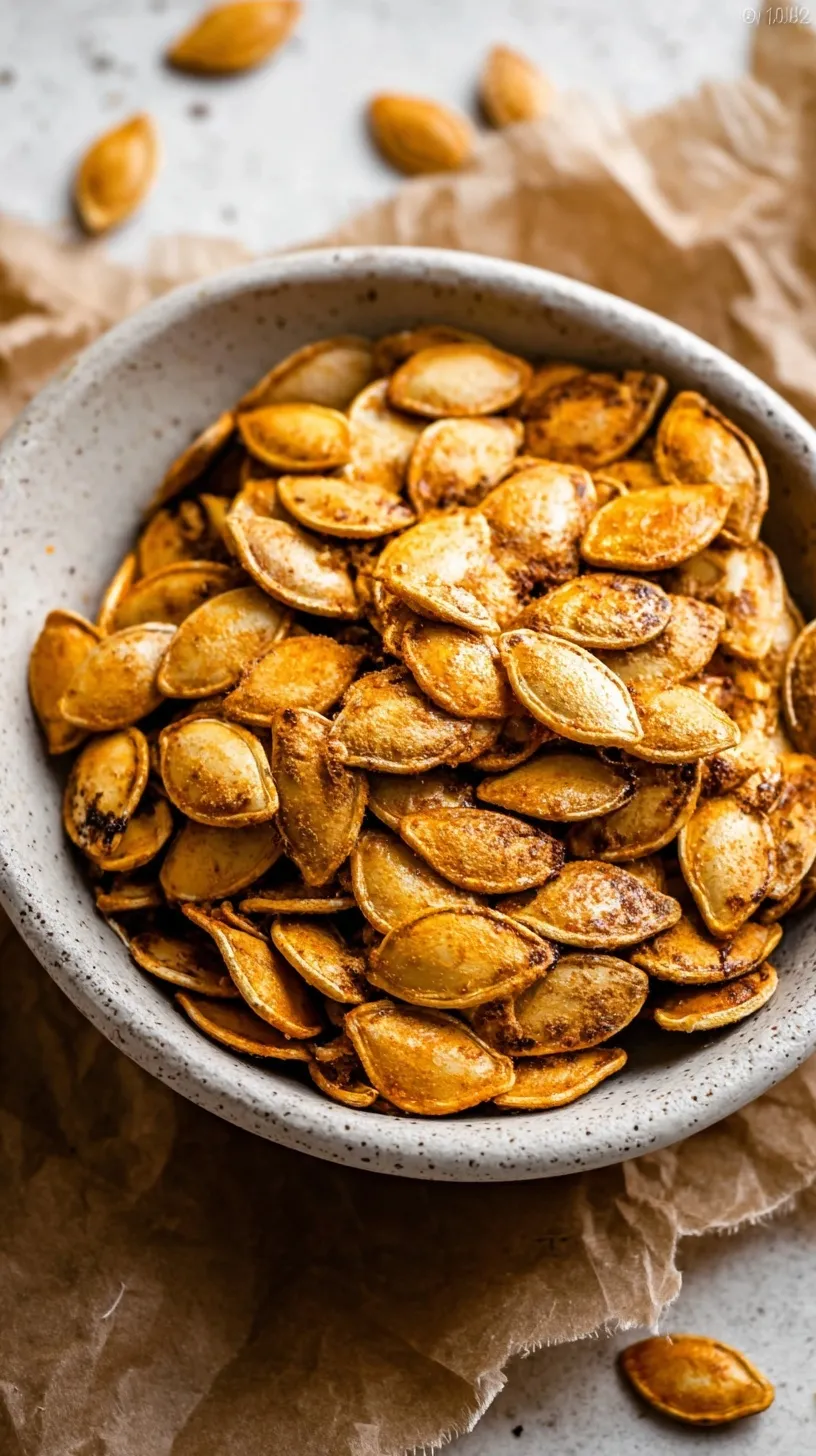
Crispy Roasted Pumpkin Seeds: The Ultimate Fall Snack
There is something magical about the smell of harvest treats on a crisp autumn evening. After carving pumpkins, you might be tempted to toss the seeds away. Please don’t throw out that golden snack opportunity waiting inside.
Making roasted pumpkin seeds is a beautiful way to celebrate the season. This simple recipe turns garden scraps into a crunchy, savory delight. You will love how easy it is to create this healthy treat at home.
Why This Recipe Is a Winner
This recipe is a total game-changer for your fall snacking routine. It is incredibly budget-friendly because you are using what you already have. You get a high-fiber snack without any mysterious additives.
These seeds are perfect for a healthy reset after holiday indulgences. They provide a satisfying crunch that keeps you full between meals. Your kids will even enjoy helping you clean and season them.
Simple Method
The secret to success is a low oven temperature. This ensures the seeds get maximum crispness without burning the delicate oils. You do not need any fancy equipment for this process.
Even if you are a beginner, you can master this technique. Just remember to dry the seeds thoroughly before they hit the oven. This simple step makes all the difference in the final texture.
Ingredients You’ll Need
This recipe relies on simple pantry staples to let the seeds shine.
- 1 cup raw pumpkin seeds, rinsed and cleaned
- 1 tablespoon olive oil
- 1/2 teaspoon kosher salt
- 1/4 teaspoon garlic powder
Step-by-Step
- Preheat the oven to 300°F (150°C).
- Place the cleaned seeds in a colander and rinse under cold water.
- Pat the seeds completely dry with a clean kitchen towel.
- In a medium mixing bowl, combine dried seeds, oil, salt, and garlic powder.
- Toss the mixture until all seeds are evenly coated.
- Spread the seeds in a single layer on a lined baking sheet.
- Bake for 45 minutes, stirring every 15 minutes.
- Remove when golden brown and allow to cool completely on the tray.
Best Ways to Enjoy It
Serve these warm for the ultimate cozy experience on a chilly day. They make an excellent topping for creamy butternut squash soup. You can also toss them into a fresh autumn salad for extra protein.
Pack them into small jars for a nutritious lunchbox addition. They are the perfect fuel for a long fall hike. Pair them with an apple for a balanced afternoon snack.
Storage & Reheating
Store your cooled seeds in an airtight container at room temperature. They will stay fresh and crunchy for up to one week. For longer storage, you can keep them in the fridge for two weeks.
If they lose their crunch, simply pop them back in the oven. Heat at 300°F for about 5 minutes to restore the texture. Always ensure they are completely cool before sealing the container.
Recipe Tips
- Do not skip the drying step because moisture prevents crisping.
- Use a clean kitchen towel rather than paper towels for drying.
- Stir the seeds regularly to ensure they brown evenly on all sides.
- Avoid crowding the pan to let the air circulate properly.
- For Thanksgiving, double the batch to feed your hungry guests.
- Wait for them to cool completely for the loudest crunch.
- Adjust the salt levels to suit your personal taste preferences.
Ways to Switch It Up
- Swap garlic powder for cinnamon and sugar for a sweet treat.
- Add a pinch of cayenne pepper for a spicy kick.
- Use melted coconut oil instead of olive oil for a different flavor.
- In summer, try this method with squash seeds from your garden.
- Sprinkle with nutritional yeast for a dairy-free cheesy flavor.
FAQs
Do I need to boil the seeds first?
Some people prefer boiling, but it is not necessary for this recipe. Rinsing and thorough drying will give you a perfectly crispy result every time.
Can I use seeds from any squash?
Yes, you can use seeds from butternut or acorn squash too. They might be smaller, so check them early while they are roasting.
How do I know when they are done?
The seeds should be a light golden brown color. They will continue to crisp up as they cool on the baking sheet.
I hope these roasted pumpkin seeds bring a little extra warmth to your home this season. Give this simple recipe a try and enjoy the crunch. Happy cooking!
— Clara
Ingredients
Method
- Preheat the oven to 300°F (150°C).
- Place the cleaned seeds in a colander and rinse under cold water to remove any remaining pulp.
- Pat the seeds completely dry with a clean kitchen towel; moisture is the enemy of crispness.
- In a medium mixing bowl, combine the dried seeds, olive oil, salt, and garlic powder.
- Toss the mixture until all seeds are evenly coated with the oil and seasonings.
- Spread the seeds in a single layer on a rimmed baking sheet lined with parchment paper.
- Bake for 45 minutes, stirring the seeds every 15 minutes to ensure even browning.
- Remove from the oven when the seeds are golden brown and allow to cool completely on the tray to finish the crisping process.